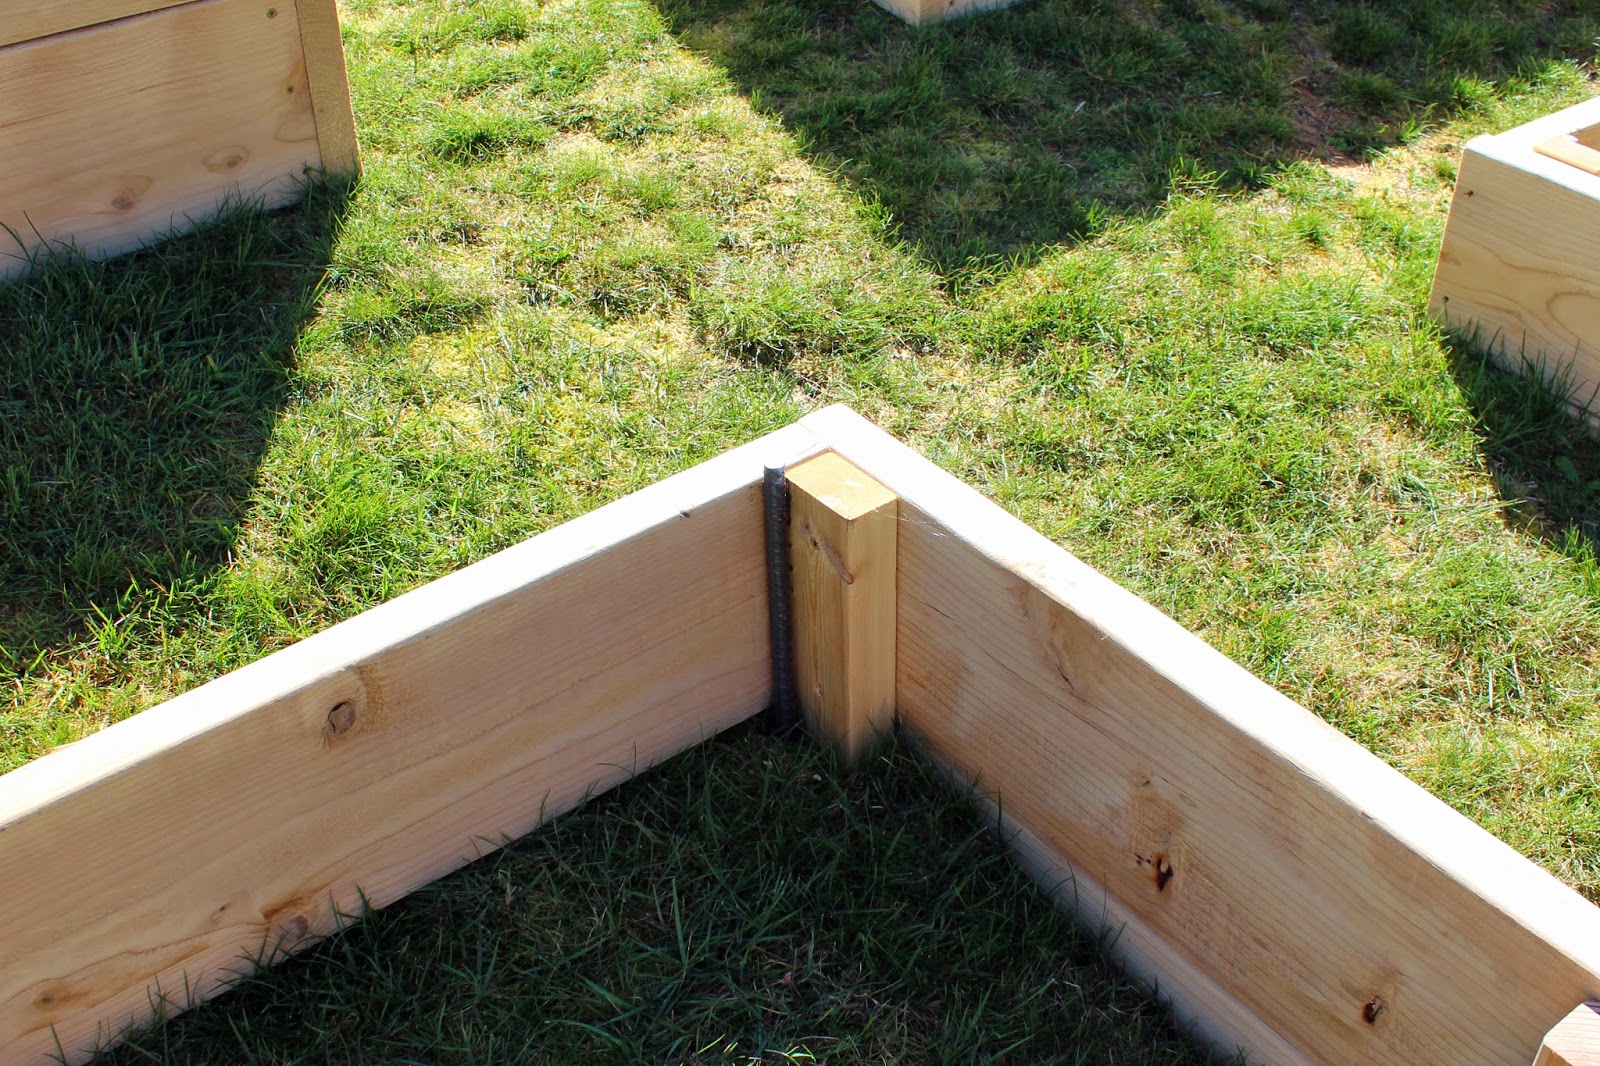
Before I share about planting the garden, I should probably share about growing the seedlings first. I had big dreams for our first garden on our new homestead. Originally, I had planned to start our garden last Fall with some cold hardy crops so, planning in advance, I had ordered seeds even before we arrived at our new house! However, the Fall garden did not happen and it's probably best that we waited. We really needed that time to settle in and unpack the house and if we would have started construction in the Fall, I don't think we would have the garden that we have now. It really did take us a while to figure out the best layout and whether the location would be ok. We have a large fenced yard, but we also have a septic and drain fields that we needed to avoid. Anyway, before all of that construction began, I had little seedlings growing in the house.............

March 31st- Bottle Gourds, Nasturtium, Squash, Pumpkin & Melon
I thought that by having some seed packets already, I wouldn't have a very difficult time deciding on which other ones I should buy. I was so wrong! I wanted to order almost everything I saw in the seed catalogs. I started out by ordering from D. Landreth Seed Company I had ordered from them before and like their "Seeds In A Sack". I ordered their "Heirloom Seed Collection", "Heirloom Tomatoes", "The Second Season", & "Gourmet Greens". Then I ordered even more individual packets after that! I also ordered from Baker Creek Heirloom Seeds & Territorial Seed. And even picked a few seed packets up at the local home improvement store. After all was said and done, I had over 100 seed packets. What was I thinking?!

March 31st- Sunflowers & Cucumbers
In my defense, they weren't all vegetable seeds so we wouldn't need a garden that big. There were plenty of herb & flower seeds in the mix.

March 31st- Marigold, Zinnia & Zuchinni
After purchasing several seed starting trays and seed starting medium, I began planting those tiny little seeds and making plant markers with popsicle sticks and a sharpie. It took me hours & hours over the course of a few weeks to finally get everything planted. I used a mix of the 72 cell trays and small 18 pot trays.

March 31st- Bottle Gourds, Winter Squash, Pumpkin & Melon
A lot of the seeds germinated and grew pretty well. Others...not so much. I was having a problem with damping off and fungus gnats. I decided to sterilize the remaining seed start mix in a disposable aluminum turkey pan covered in foil and try replanting. Some of the seeds germinated & grew, but I didn't see a lot of difference in the damping off problems I was having.

March 31st- Rouge Vif d'Etampes Pumpkin (Cinderella Pumpkin)
A little discouraged, but not one to give up, I decided to try a different brand of seed start mix. I didn't feel like I had many options since I wanted to avoid all the brands who add chemical fertilizers. I want to grow my food 100% chemical free right from the start. After a little research, I discovered that a brand I'd seen many times in a local store was indeed certified organic. I decided to buy a bag and give it a try.

April 13th- Marigolds
I saw a huge difference in the germination & growth rate of the seeds. I still had a few problems, but they weren't anything like before.

April 13th- Bottle Gourds, Nasturtium, Squash & Pumpkin
I kept tending the little plants, checking on them several times a day. Once I felt they were large enough, I'd start sitting them outside on nice warm days to begin hardening them off.

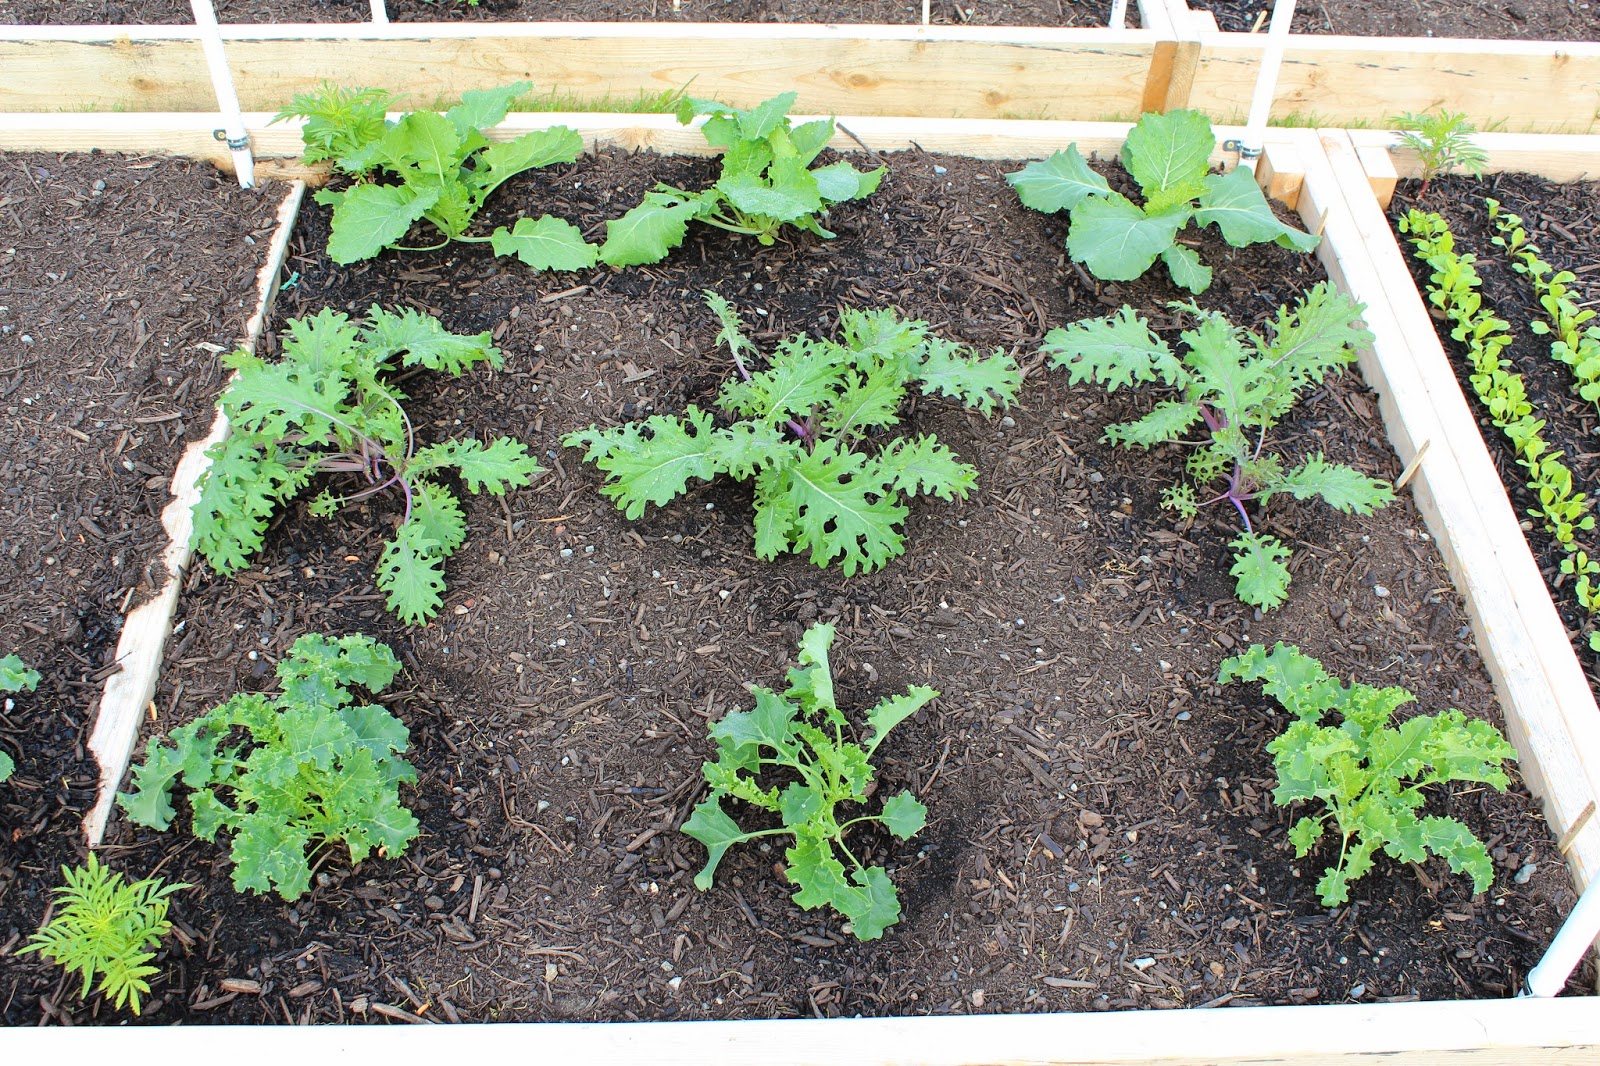
April 13th- Kale, Collards, Mustard, Impatiens & Coleus
I had quite a few seed trays growing and as some of the seedlings grew larger, I planted them up in the small 3 inch pots, others stayed in the small cell packs.

April 13th- Seedlings were brought inside at night & on cold, rainy days
So...where did I grow all of these little food & flower makers? My husband bought a metal utility shelf unit & 8- 4ft shop lights (each with 2 bulbs) at our local home improvement store and we set it up in the family room of course! (I'll talk about the green house seen in some of the garden photos another day)

April 13th- 8 happy seed trays
In total I had 14 seed trays growing at once. Only 8 would fit on the shelf unit, but planting was staggered so it worked out perfectly. As seedlings were ready to be moved out during the day to begin hardening off, I had space on the shelves for newly planted trays.
Check back next week for outside planting updates & the first harvest. I am also going to the Mother Earth News Fair this weekend and I'm sure I'll have plenty to share about that next week!