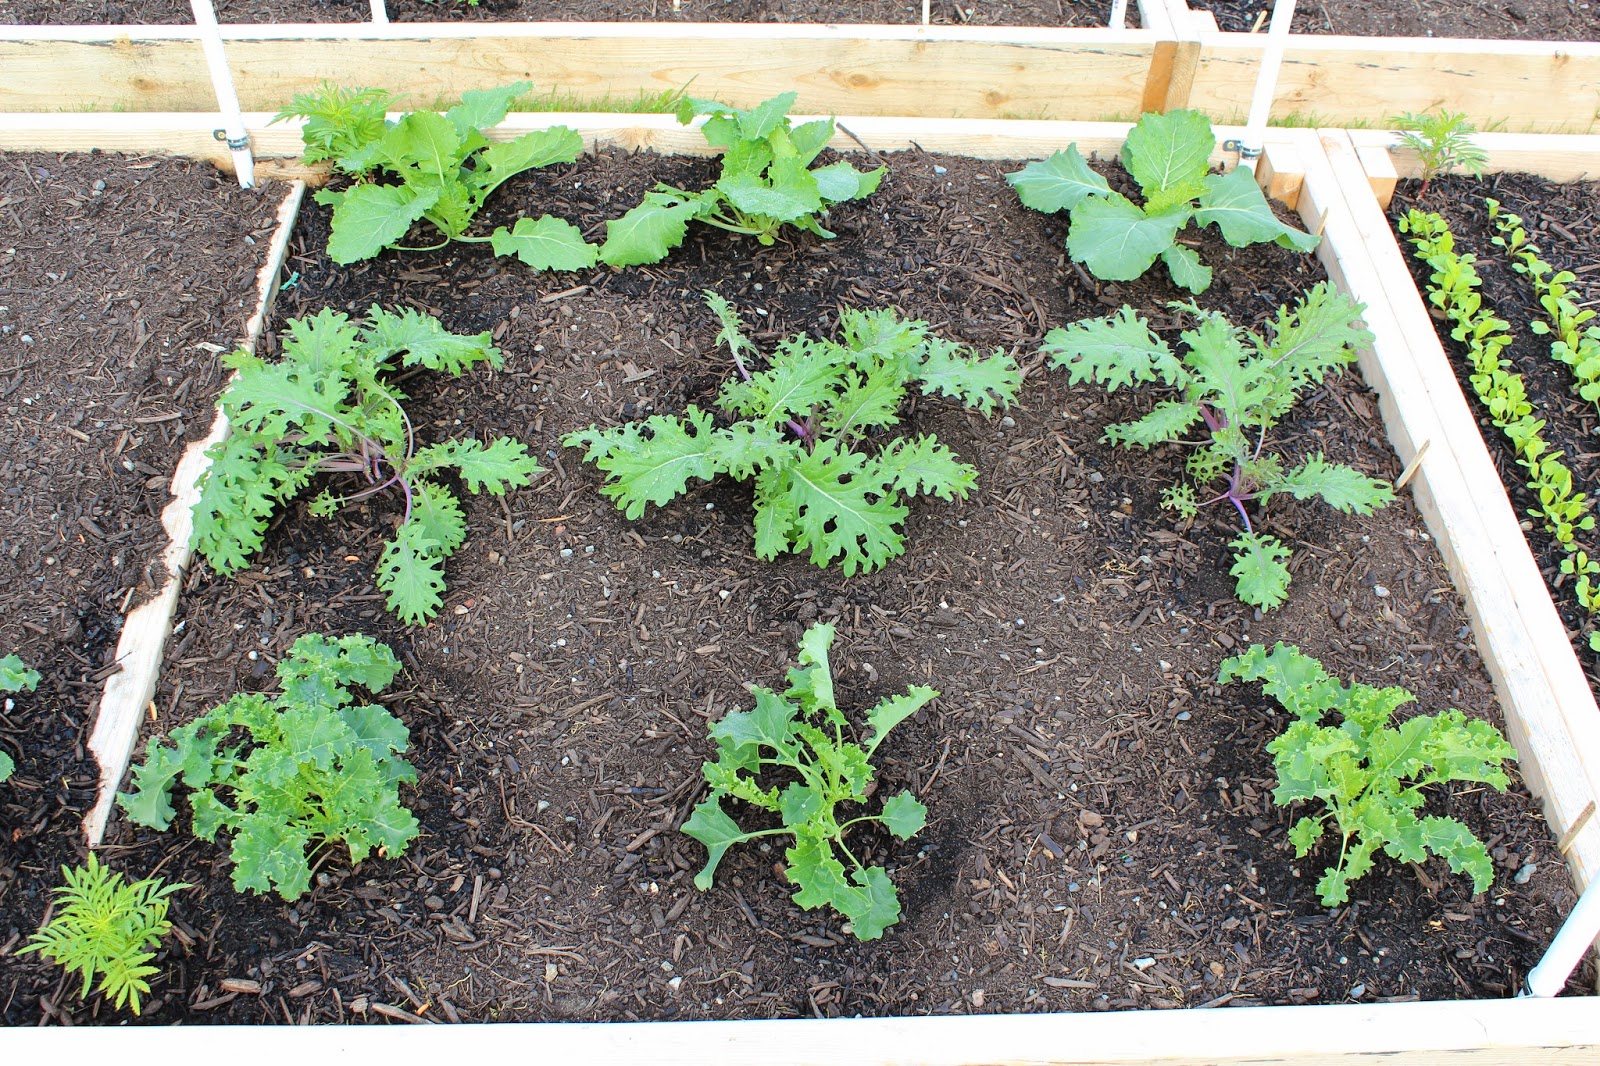
Well, I certainly didn't plan to wait a whole month to blog about the veggie garden. Let's hope there aren't huge gaps like this too frequently. I've learned that living a simple life can actually be time-consuming when just getting started in a new place!
Garden bed above.....Collards, Red Russian kale & Dwarf Siberian Curled kale, May 27th
Our back yard is pretty large, but is a continuous slope starting just off the deck and continues down to the bottom fence line where it begins to level off. Because of this, planting an in-ground garden wasn't possible so we needed to build raised beds. Lots of large raised beds for the amount of planting I want to do!
My husband took a week off from work to accomplish this task and we hoped it wouldn't rain too much.
Day one (March 31st) All large beds constructed & joined
I decided that we needed 9- 4x12 ft beds, 1- 4x8 ft bed, and 3- 4x4 ft beds. Due to the small size of our truck and not wanting to pay delivery fees, we opted to build 8 ft & 4 ft beds and join them together to make up the 12 ft length we wanted. You could certainly opt to make 2- 6 ft beds and join them together, but we chose to work with 8 ft length lumber to make shopping easier.
Day two (April 1st) 8 of the large beds lifted with "legs" and leveled
After much debate and consideration, we opted to buy untreated, standard 2"x 8" lumber in 8 ft lengths to build the "top level" of the garden beds. For the legs, we used 2"x 3" lumber, however standard 2"x4"s could have been used.
Day 8 (April 7th) All beds finished off & enclosed
Because our backyard has such a steep slope (not sure of the degree), to fill in the bottom half of the beds, we had to use 2"x 10"s that were trimmed to fit the space. This took a little time, but worked out well. After a week's worth of work, we were pleased with the results!
Stay tuned....Next up...bracing and anchoring the beds to keep them in place....and then filling with compost (lots of it!) and planting.


No comments:
Post a Comment